La Instructionese
A friend of mine left a voicemail after I posted my mural pics and asked how I did it. Instead of explaining it TWICE to the wide array of buds I have, I'll take 3 hours and transcribe it with photographs for anyone who cares.
What you will need:
A photo you want to display
16 8x10 picture frames*
Photoshop
IRFanView (A shareware picture viewing program, not essential)
High Quality Colour Printer
Scissors
*You can actually choose any even number you like, but you'll obviously have to adjust everything to fit.
So here is the photo I used, uncropped or edited:
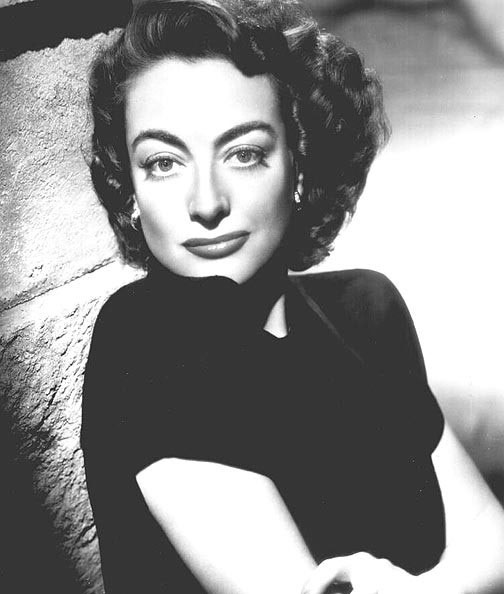
The dimensions of this picture are 504 pixels by 594 pixels. Because we're using 4 x 4 frames (16 in total), we know the dimensions of the entire finished project should be 8x10. The important thing is, the image you're going to cut up into 16 smaller pictures has to have the same ratio of height to width; here is the easiest way to ensure this.
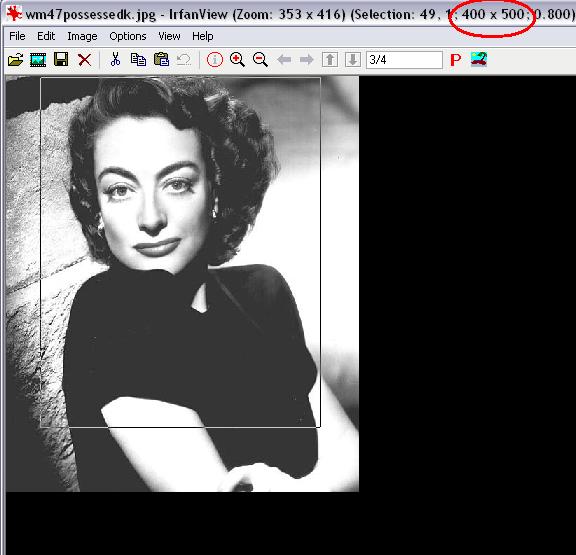
The original is 504x594, right? Let's call the width 400 for the sake of evenness. Using some rudimentary algebra, we can determine what the height should be to ensure the 8x10 ratio.
400 8
x = 10
So (400x10)/8 will give you the proper height = 500.
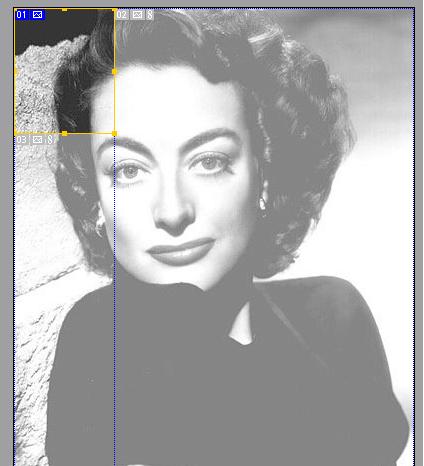
Now we have to crop our original to 400x500 pixels. This is easiest to do in IRFanView, I've found. After opening the picture in the program, you simply drag your mouse to create a box (don't worry about the size, you can adjust it later). Once you have a sizeable box, release your mouse button.
The original is 504x594, right? Let's call the width 400 for the sake of evenness. Using some rudimentary algebra, we can determine what the height should be to ensure the 8x10 ratio.
400 8
x = 10
So (400x10)/8 will give you the proper height = 500.
Now we have to crop our original to 400x500 pixels. This is easiest to do in IRFanView, I've found. After opening the picture in the program, you simply drag your mouse to create a box (don't worry about the size, you can adjust it later). Once you have a sizeable box, release your mouse button.
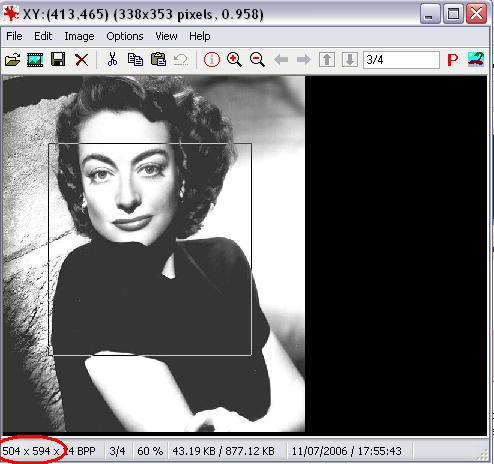
Please note the dimensions in the top bar of the IRFanView window. Keep an eye on this display and run your mouse over on of the outer edges of the box you just created. If you click and hold your mouse button, you can drag them to whatever size you'd like. Drag the sides and top and bottom until it lists the dimensions as 400x500. Once you have the proper sized box, you can right click on it and drag it to whatever position you'd like on the original.
Once you've positioned it in an acceptable place, click on Edit and then Crop Selection. When it crops it, you can save it (make sure you don't overwrite the original file, in case you decide you don't like the position).
Open the file in Photoshop. Because we've cropped this picture to the proper aspect ratio, we need to convert our 8x10 inch figure (the size of the frame) to pixels as that is what Photoshop uses (and it just makes it easier). Since there are four frames across the top and four frames down the side, we just need to divide 400 and 500 by 4. We end up with 100x125.
In Photoshop, we're going to divide the picture into 16 sections, each one 100x125 pixels. This is a lot easier than it sounds, don't worry:
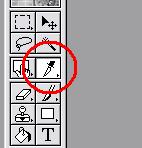
1) Click on the Slice Tool in Photoshop.
Open the file in Photoshop. Because we've cropped this picture to the proper aspect ratio, we need to convert our 8x10 inch figure (the size of the frame) to pixels as that is what Photoshop uses (and it just makes it easier). Since there are four frames across the top and four frames down the side, we just need to divide 400 and 500 by 4. We end up with 100x125.
In Photoshop, we're going to divide the picture into 16 sections, each one 100x125 pixels. This is a lot easier than it sounds, don't worry:
1) Click on the Slice Tool in Photoshop.
2) The Slice dialogue box should open near the top of the screen. Switch to "Fixed Slice" and enter the dimensions as 100 x 125 (as pictured below):

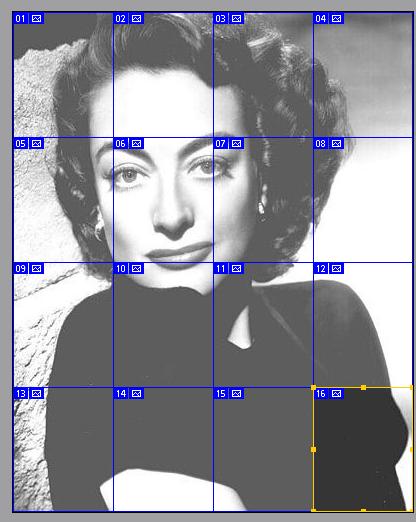
3) Click on the picture, holding down your mouse button and your 100x125 window will appear. Position it in the upper right hand corner (it should snap to the corner automatically when you get near it).
4) Keep repeating this until you have filled the entire picture. Be sure that your edges line up properly (down to the pixel, seriously). It should end up looking like this:
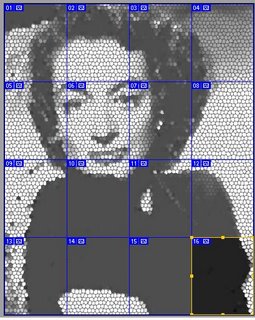
5) When I decided to do this, I wanted the picture somewhat disguised, or at the very least unrecognizable when you're standing too close to it. I thought of using the Pixellation filter in Photoshop, but settled on the Stained Glass texture filter, as it was a little more random. You may not want to do this yourself, but you should note that when you blow up a picture in the fashion I've laid out here, the quality degrades the bigger it gets. If you apply a filter, it disguises this.
6) Click on File, then Save Optimized As. Give the file a name and hit Save. It should save 16 different files, each one a different slice. Now you can print them off on a high quality colour printer. Make sure when you're printing them that you're getting them exactly 8x10 inches or this entire exercise will be pointless. Once they're printed out, cut off the excess paper and assemble them all in the frames like a puzzle.
Hanging them can be a bit tricky, but you don't need my help for that. I suggest some kind of measuring device and maybe a level. Other than that, you're on your own.
Turrah!
Turrah!
Categories: Apartment


It looks awesome.
You've inspired me and the detailed instructions you've provided will save me from pulling out all my hair in frustration.
Thanks Chachi!
Love,
Joannie